roasted garlic rosemary bread
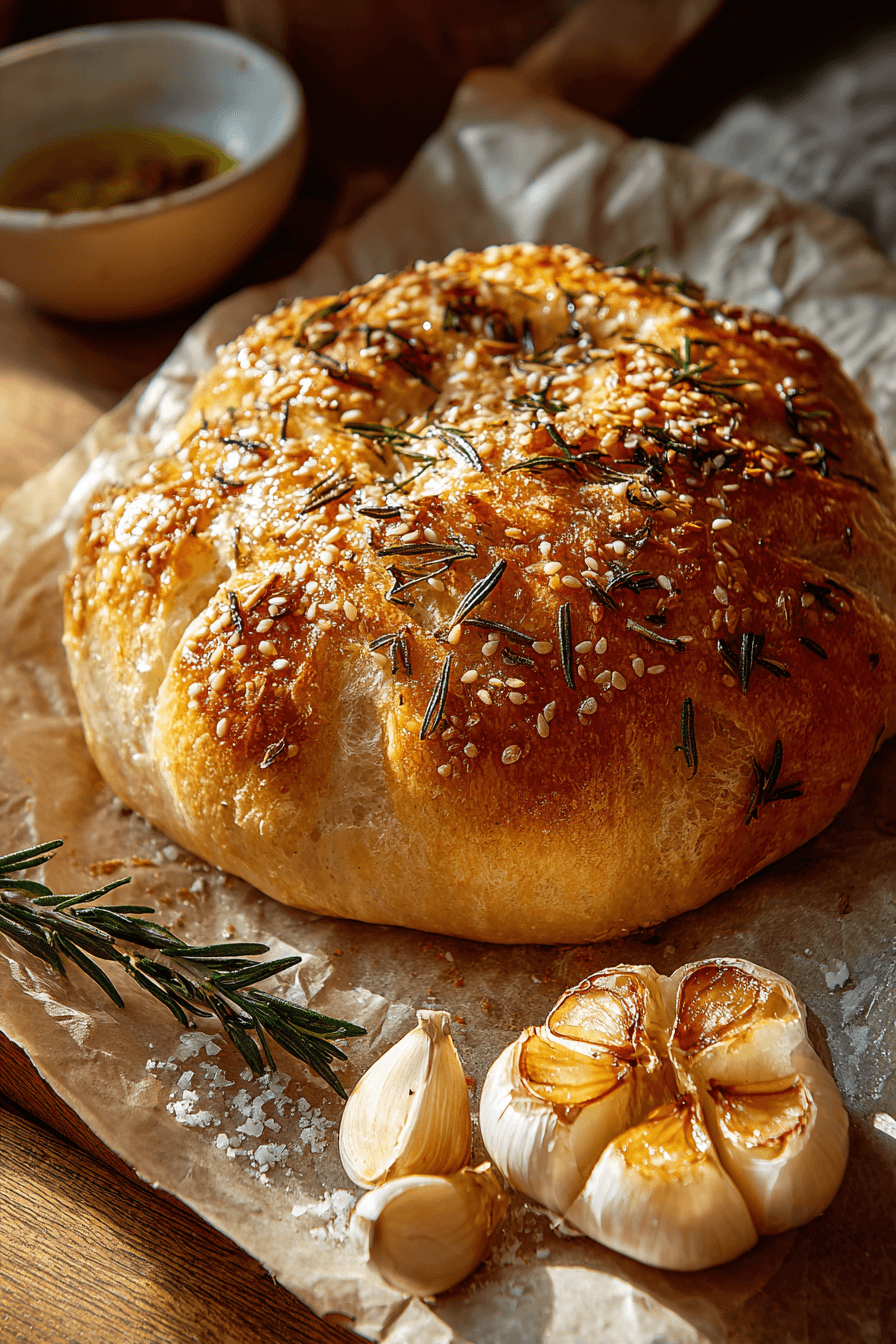
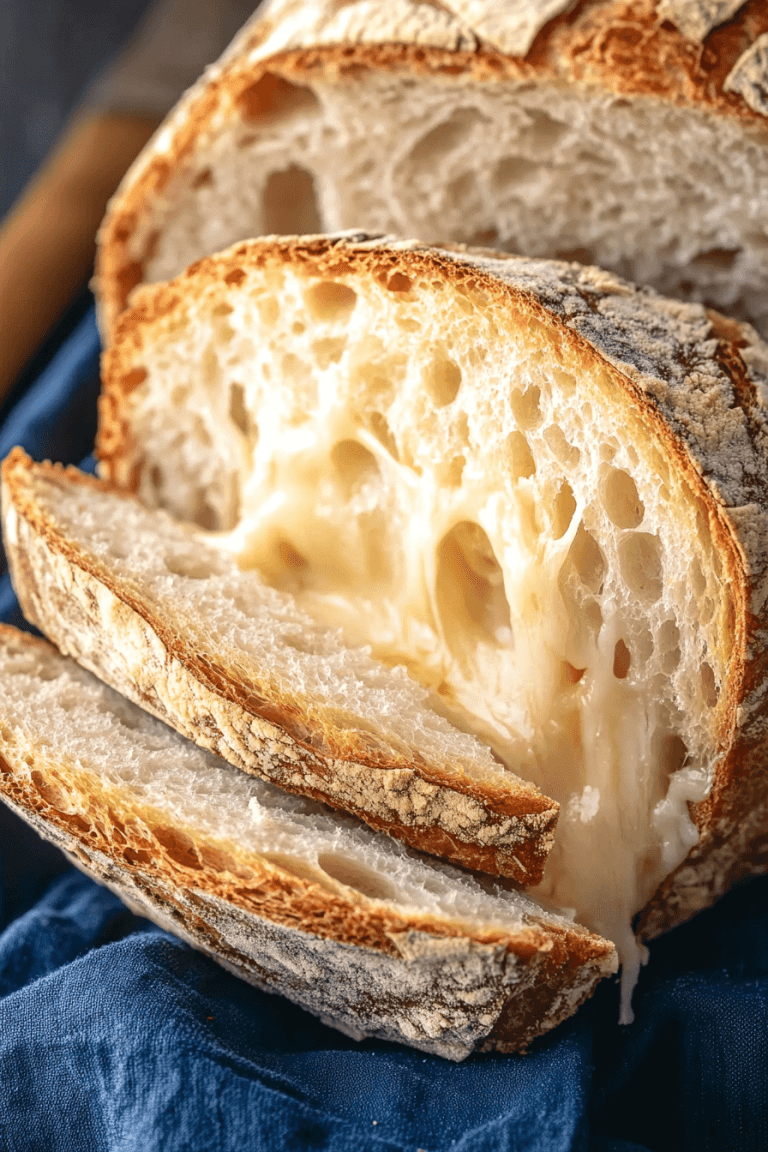
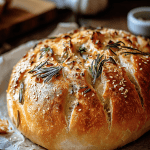
“Roasted garlic, fresh rosemary, olive oil, flour, water & yeast combine in this Easy Roasted Garlic Rosemary Bread – The Best Homemade Loaf: a rustic, no-knead artisan loaf you’ll bake at home.”
Personal story behind Easy Roasted Garlic Rosemary Bread – The Best Homemade Loaf
When I first dreamed up this Easy Roasted Garlic Rosemary Bread – The Best Homemade Loaf, it wasn’t because I fancied myself a baker—more because my kitchen smelled like a garlic festival every time I roasted garlic for something else (soup, pasta, etc.). One evening, I had leftover roasted garlic cloves (because yes, I overdid it) and a sprig of rosemary wilting in the fridge. In a moment of carb-driven brilliance (or hunger-fueled desperation), I thought: Why not throw them into a bread dough? I’d been watching videos of artisan no-knead loaves, and I figured: worst case, I end up with a weird garlic brick.
But the result surprised me. The crust was crisp, the crumb chewy, and every bite carried mellow roasted garlic undercut by piney rosemary notes. I brought that loaf to a dinner party, and someone (a self-proclaimed “not a bread person”) halfway devoured it before realizing it was homemade. That’s when I knew I had a keeper.
Ever since then, Easy Roasted Garlic Rosemary Bread – The Best Homemade Loaf has become my go-to “show-off without stress” recipe. I’ll often halve the dough, bake one, and freeze the rest—then days later, when I need comfort, it’s as though I summoned a warm bakery into my kitchen. So yes, this isn’t just a recipe—it’s a mild kitchen miracle sparked by leftover garlic and sheer laziness (in the best way).
Unique selling points of Easy Roasted Garlic Rosemary Bread – The Best Homemade Loaf
Introduction
What makes Easy Roasted Garlic Rosemary Bread – The Best Homemade Loaf truly stand out (beyond the intoxicating aroma that turns neighbors into loaf-hunters) is that it marries flavor, simplicity, and texture in a way that looks far more intimidating than it really is. In a world of over-engineered artisan loaves, this is a recipe you can rely on whether you’re a baking novice or someone who treats their mixer like an old friend.
Unique Selling Points
- No-knead simplicity with artisan results
You don’t need to knead for 10 minutes or own a stand mixer. The dough is mixed and left to rise slowly (including a cold ferment), and the heavy lifting is done by time and fermentation, not arm strength. - Rustic, flavorful profile
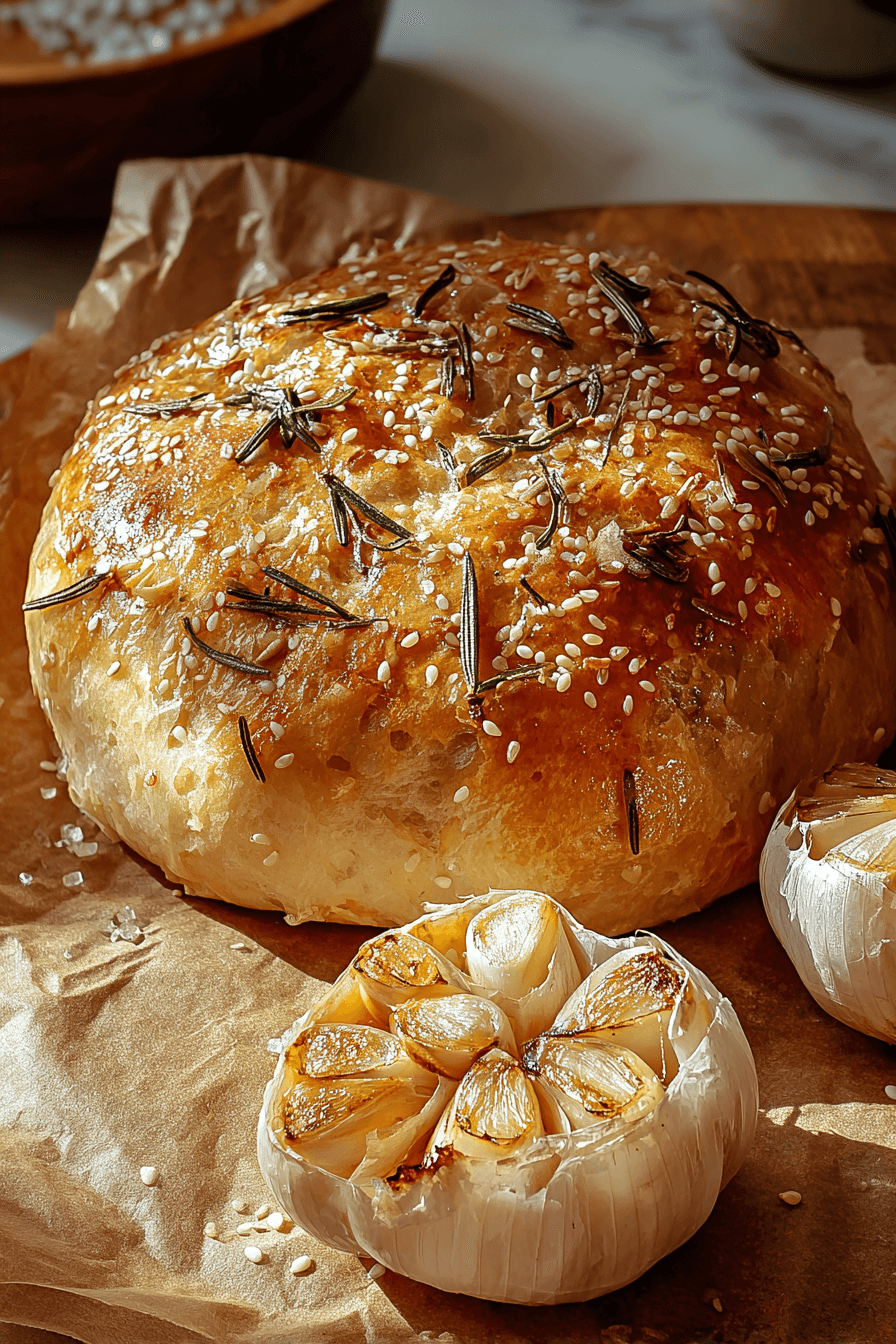
Roasting a whole head of garlic softens its sharpness, turning it sweet and mellow. Combined with fresh rosemary, each slice is aromatic and savory—far better than plain bread. - Flexible fermentation window
The cold-ferment step (1 to 48 hours) gives you leeway to bake when convenient. That’s ideal for busy bloggers, home cooks, or those who prefer making dough ahead. - Crust and crumb contrast
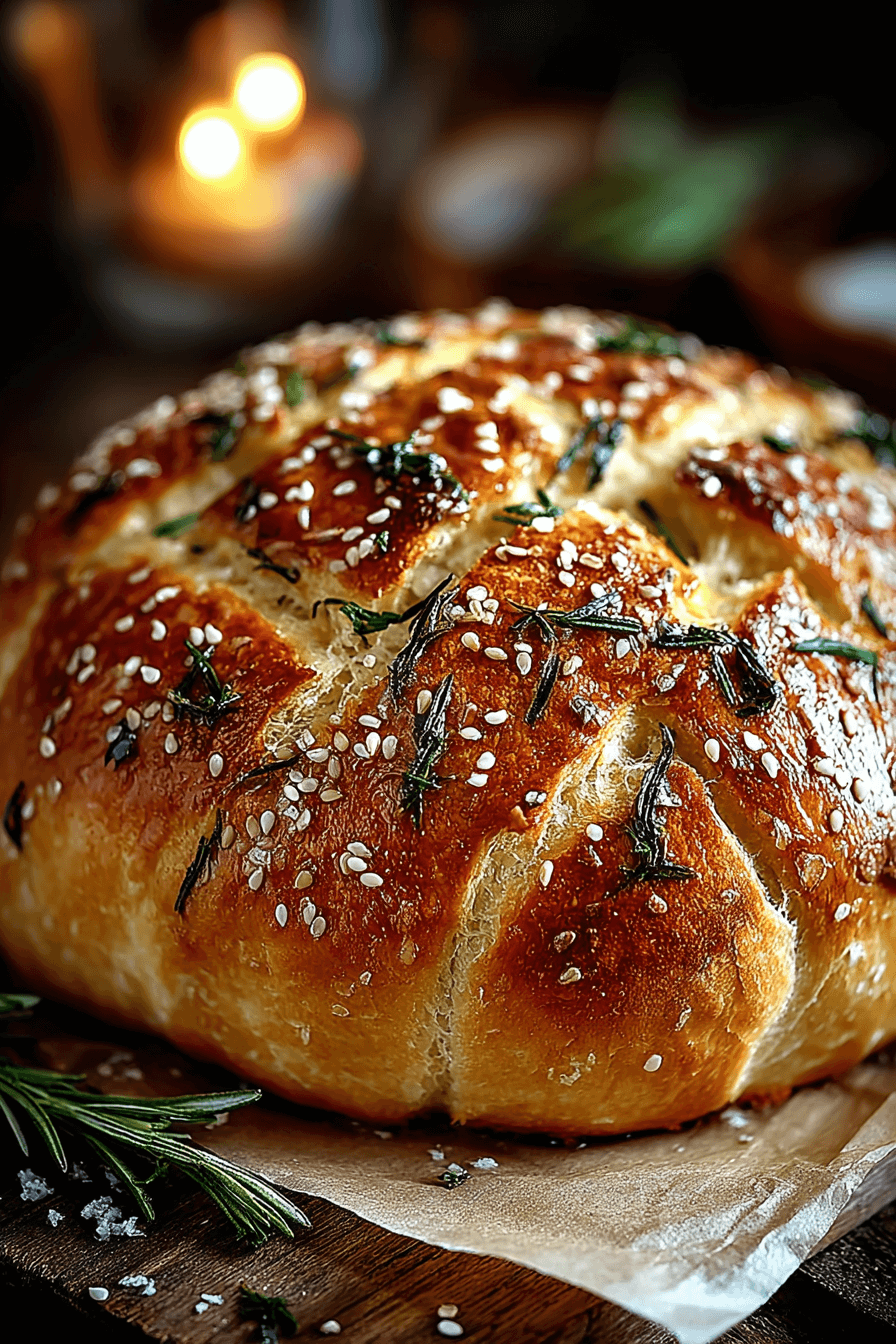
Thanks to the Dutch oven baking method, you get a crisp, crackly crust while the interior stays chewy and moist — a textural treat. - Impressive but forgiving
It looks and tastes like a bakery loaf, but the recipe is forgiving of small timing shifts or slight measurement deviations. If your dough is a little wetter or rises a bit slowly, it still usually turns out beautifully. - Versatility for enhancements
Because the base is simple, it’s easy to riff—add olives, swap herbs, sprinkle seeds, or fold in cheese. (I’ve linked to a rosemary & garlic herb tutorial from Life as a Strawberry for inspiration.)
Ingredient notes for Easy Roasted Garlic Rosemary Bread – The Best Homemade Loaf
Here are some tips, caveats, and friendly nudges about each ingredient in your Easy Roasted Garlic Rosemary Bread – The Best Homemade Loaf. These notes help you understand why things are used, so you can tweak or adapt more confidently.
- Whole head garlic / roasted garlic cloves
Roasting the garlic mellow the sharp raw bite and infuses a deep, soft sweetness. Don’t skip the roast—raw garlic in the dough would be too fiery and may inhibit yeast activity. Use only the softened cloves (smashed) in the dough. - Extra-virgin olive oil
The olive oil helps tenderize the crumb and carry flavor (garlic, rosemary) through the dough. Splitting the oil (a bit for roasting, a bit in the dough) ensures a more integrated garlic-rosemary oil infusion. - Water (room temperature, ~70°F / 21°C)
Temperature matters. If water is too cold, yeast is sluggish; too hot (above ~120°F / 49°C), you risk killing the yeast. Stick close to lukewarm temps. - Active dry yeast
This is your leavening. Make sure it’s fresh and stored properly (cool, dry). You can substitute instant yeast, but reduce the amount slightly and skip the proofing step (or adjust accordingly). - Flour (bread or all-purpose)
Bread flour gives a stronger gluten structure and better chew; all-purpose works fine and is more accessible. If using all-purpose, the loaf may be a bit less airy—but still delicious. - Kosher or fine sea salt
Salt regulates yeast activity, strengthens gluten, and enhances flavor. Don’t dump salt directly on yeast—mix it into the flour first or on the opposite side of the bowl to avoid inhibiting yeast early. - Dried oregano + fresh rosemary
The oregano adds a subtle, earthy layer beneath the rosemary’s piney brightness. Fresh rosemary is preferred for its aroma and freshness; dried works in a pinch (use less). - Coarse sea salt & pepper (for roasting / finishing)
These are your crunchy, visual, and flavor-popping details. The coarse salt sprinkled on the roasted garlic or the dough surface gives texture and accentuates the garlic-rosemary notes. The pepper adds a gentle background warmth.
Recipe broken into clear, easy-to-follow steps
Below is a detailed walkthrough of Easy Roasted Garlic Rosemary Bread – The Best Homemade Loaf, broken into digestible phases, with explanations so you understand what’s happening at each turn.
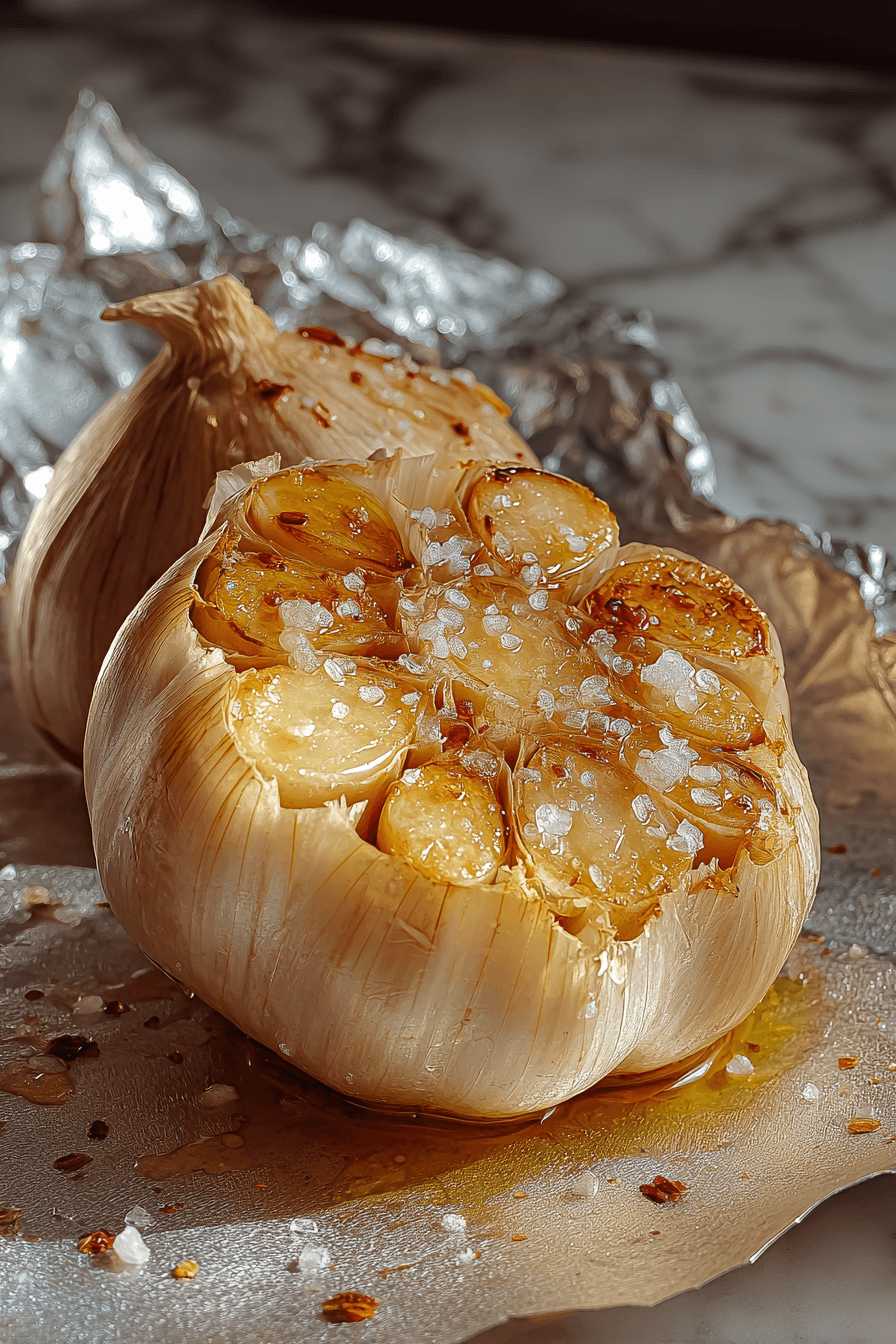
Step 1: Roast the Garlic
Preheat your oven to 400°F (204°C). Take your whole head of garlic and slice it in half horizontally (exposing the tops of the cloves). Drizzle a little olive oil over the exposed cloves, and sprinkle with a bit of coarse salt and pepper. Wrap the garlic halves tightly in foil (or place them in a small covered baking dish). Roast in the oven for about 40 minutes, until the cloves are soft, deeply golden, and fragrant. Once done, let cool, then gently squeeze or scoop out the roasted garlic cloves from their skins (you should be able to do this easily). Reserve those soft, caramelized garlic cloves—these will flavor your dough.
Why this step matters: Roasted garlic transforms sharpness into mellow sweetness, and breaking down those cloves makes them easy to blend into the dough so you get garlic flavor without burnt bits.
Step 2: Mix the Dough
In a small bowl, combine your room-temperature water (~70°F / 21°C) with the active dry yeast. Let it sit for 10–15 minutes, until the yeast starts to foam (this is proofing). In a large mixing bowl, whisk together the flour, salt, dried oregano, and chopped fresh rosemary. Add in the smashed roasted garlic cloves and a bit of olive oil. Pour the yeast-water mixture into the dry ingredients and stir with a spatula or wooden spoon until the mixture forms a sticky, shaggy dough. It will be loose—don’t worry, that’s intentional.
What you’re doing: Activating the yeast ensures it’s alive and ready. Mixing distributes flavor and hydration. That sticky, shaggy dough is your blank canvas—the long rise will transform it.
Step 3: First Rise (Bulk Fermentation)
Cover the bowl with a clean towel (or plastic wrap) and let the dough rest at room temperature for 8–10 hours, until it has visibly doubled in size. This is a slow, patient rise—the yeast works gently to develop flavor and structure.
Tip: Place it somewhere draft-free, ideally a warm-ish corner of your kitchen. The long rise helps build aroma and texture.
Step 4: Shape & Cold Ferment
Once the dough has doubled, turn it out gently onto a well-floured work surface. Shape it into a loose round (don’t degas aggressively). Transfer it seam-side up into a floured bowl or banneton. Cover again, and then refrigerate it for 1 to 24 hours (you can go up to 48 hours for deeper ferment flavor, though beyond 24 is optional). This cold ferment gives your loaf extra complexity and flexibility in timing.
Why cold ferment helps: Slowing the yeast gives time for flavor compounds (acids, sugars, etc.) to develop. Also, it gives you flexibility to bake when it suits your schedule.
Step 5: Preheat & Score
About 30 minutes before baking, preheat your oven to 450°F (232°C) with a Dutch oven (with lid) inside (so both the pot and lid get hot). Take the chilled dough out of the fridge, invert it onto parchment paper (so the seam side is now down). Using a very sharp razor blade or bread lame, score the top of the dough (a slash or decorative design). This helps control how the bread expands in the oven.
Note: Preheating the Dutch oven ensures a blast of heat on contact, which helps with oven spring (rise) and crust formation.
Step 6: Bake
Lift the dough (on parchment) and place it into the hot Dutch oven. Cover with the lid and bake for 30 minutes. After 30 minutes, remove the lid and continue baking another 15–20 minutes, until the loaf is deep golden brown and sounds hollow when tapped.
Explanation: The covered part traps steam, letting the crust expand and remain moist. Removing the lid toward the end helps dry out the crust for crispness and color.
Step 7: Cool & Slice
Carefully remove the loaf (still on parchment) and transfer it to a wire rack. Let it cool for at least 1 hour (yes, you must wait!) before slicing. Cutting too soon can tear or squash the crumb.
Why rest is important: Cooling lets steam inside finish escaping and lets the internal structure set, giving you clean slices and a better texture.
Then—cut, slather with butter or olive oil, and serve.
Storage options for Easy Roasted Garlic Rosemary Bread – The Best Homemade Loaf
Here are your go-to options to keep leftover loaf wonderful (or resurrect it if it gets stale). Because bread is living, these methods help preserve moisture, texture, and flavor.
- Short-term (1–2 days at room temperature):
Wrap half the loaf in a clean, breathable linen or cotton tea towel (or paper bag). Keep it in a cool, dry area. Don’t seal it in plastic or airtight containers—that traps moisture and softens the crust. Eat within a day or two for best texture. - Refrigerator (2–5 days):
Slice the loaf, then place slices in an airtight container or resealable bag. Refrigeration slows staling, but the crust may soften. To refresh, toast or warm in an oven (~350°F / 175°C for 5–10 min) to crisp it again. - Freezing (long term):
Freeze either the whole loaf (if small enough) or individual slices. Wrap tightly in plastic wrap, then place into a freezer-safe bag. It will keep well for 2–3 months. To use, thaw at room temperature (still wrapped) or directly toast / warm slices straight from frozen. - Reviving stale slices / loaf:
Lightly mist the bread with water, wrap it in foil, and warm in a 350°F (175°C) oven for 5–10 minutes (foil off last few minutes to crisp). Or toast slices in a toaster or oven to bring back some crunch.
Variations and substitutions for Easy Roasted Garlic Rosemary Bread – The Best Homemade Loaf
Want to put a twist on your Easy Roasted Garlic Rosemary Bread – The Best Homemade Loaf? Here are some fun spins and swaps (and yes, you can remain lazy). Use these to play, experiment, or adapt to pantry limitations:
- Change the herbs
Swap or combine herbs: thyme, sage, oregano, or basil work well. If using dried herbs instead of fresh rosemary, reduce quantity (about one-third) because they’re more concentrated. - Add cheese
Stir in shredded Parmesan, Asiago, or Gruyère (½ to 1 cup) after mixing the dough. The melted cheese oozes in pockets, giving savory pockets in each slice. - Olives or sun-dried tomatoes
Fold in chopped olives (green or kalamata) or chopped sun-dried tomatoes (packed in oil, drained) during shaping. These additions bring a Mediterranean twist. - Whole wheat / semolina swap
Swap up to 25–50% of the flour with whole wheat or semolina flour. Expect a denser crumb and slightly shorter rise times. You may need a bit more water to hydrate the extra fiber. - Garlic + chili kick
Add a pinch of red pepper flakes or finely chopped fresh chili along with the roasted garlic to introduce a hint of heat. - Seed or nut topping
Sprinkle sesame seeds, poppy seeds, or chopped nuts (e.g., walnuts, pine nuts) on top just before baking, or press them gently into the crust after scoring. - No-Dutch-oven method
If you don’t have a Dutch oven, bake on a baking stone or sheet in a steamy oven: place a shallow tray of hot water in the bottom of the oven to mimic steam, or cover the loaf with a large metal bowl the first half of baking. - Skip cold ferment / speed version
You can reduce or skip the cold ferment and bake sooner. The flavor may be less deep, and the crumb a little different, but you’ll still get tasty bread (this is a good option when you’re impatient). - Garlic butter swirl
After first rise, flatten the dough gently, spread soft garlic-infused butter or herbed butter, then roll and shape the loaf. This gives a spiral of garlic butter inside.
Easy Roasted Garlic Rosemary Bread – The Best Homemade Loaf
Ingredients
For the Bread Dough:
- 1 whole head of garlic
- 1 tablespoon extra-virgin olive oil divided
- Coarse sea salt and freshly ground black pepper to taste
- 1½ cups water room temperature (approximately 70°F / 21°C)
- 1 teaspoon active dry yeast
- 3 cups bread flour or all-purpose flour plus extra for dusting
- ½ teaspoon dried oregano
- 1 teaspoon kosher or fine sea salt
- 2 teaspoons finely chopped fresh rosemary plus additional for garnish
- 1 head of roasted garlic cloves lightly smashed
Instructions
- Roast the Garlic: Preheat the oven to 400°F (204°C). Slice the garlic head horizontally, drizzle with olive oil, and season lightly with salt and pepper. Wrap in foil and roast for 40 minutes, or until the cloves are golden and tender. Cool, then squeeze the roasted garlic from its skins.
- Activate the Yeast: In a small bowl, combine the yeast with room-temperature water. Allow it to stand for 10–15 minutes, until slightly foamy and aromatic.
- Prepare the Dough: In a large mixing bowl, combine flour, salt, oregano, and chopped rosemary. Add the yeast mixture, roasted garlic, and remaining olive oil. Stir gently with a spatula until the dough forms a sticky, cohesive mass.
- First Fermentation: Cover the bowl with a clean kitchen towel and allow the dough to rest at room temperature for 8–10 hours, or until it doubles in volume.
- Shape and Refrigerate: Transfer the risen dough onto a lightly floured surface. Shape it carefully into a smooth ball without over-handling. Place seam-side up in a floured bowl or banneton, cover, and refrigerate for 1–24 hours (up to 48 for enhanced flavor).
- Preheat and Score: Place a Dutch oven (with its lid) in the oven and preheat to 450°F (232°C). Once preheated, remove the dough from the refrigerator, invert it onto parchment paper, and score the surface with a sharp blade or lame.
- Bake the Bread: Carefully lower the dough (with parchment) into the heated Dutch oven. Cover and bake for 30 minutes. Remove the lid and continue baking for an additional 15–20 minutes, until the loaf is deep golden brown and crisp.
- Cool and Serve: Transfer the baked loaf to a wire rack and allow it to cool completely for at least one hour before slicing. Serve warm or at room temperature to enjoy its full aroma and texture.