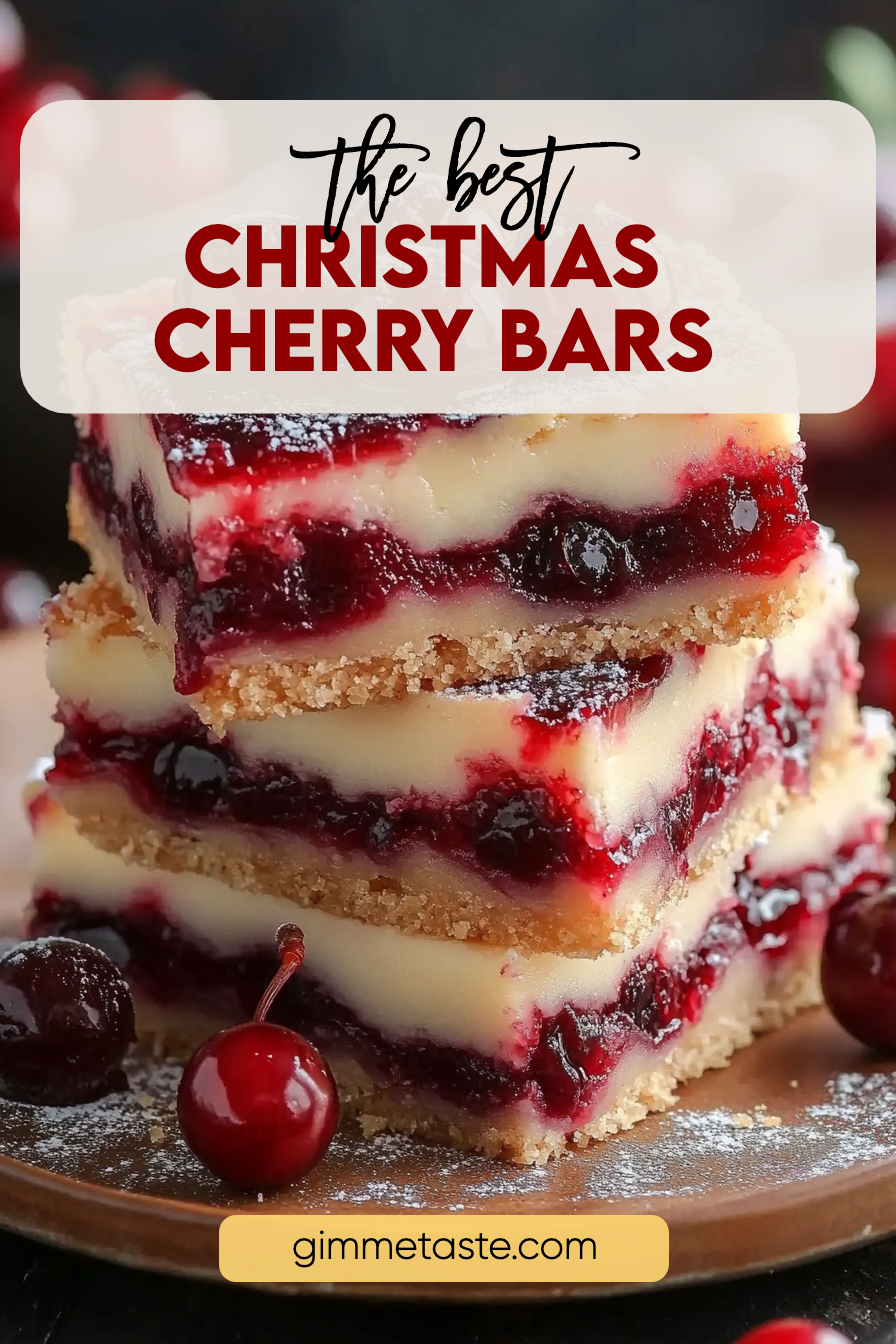
Christmas Cherry Bars
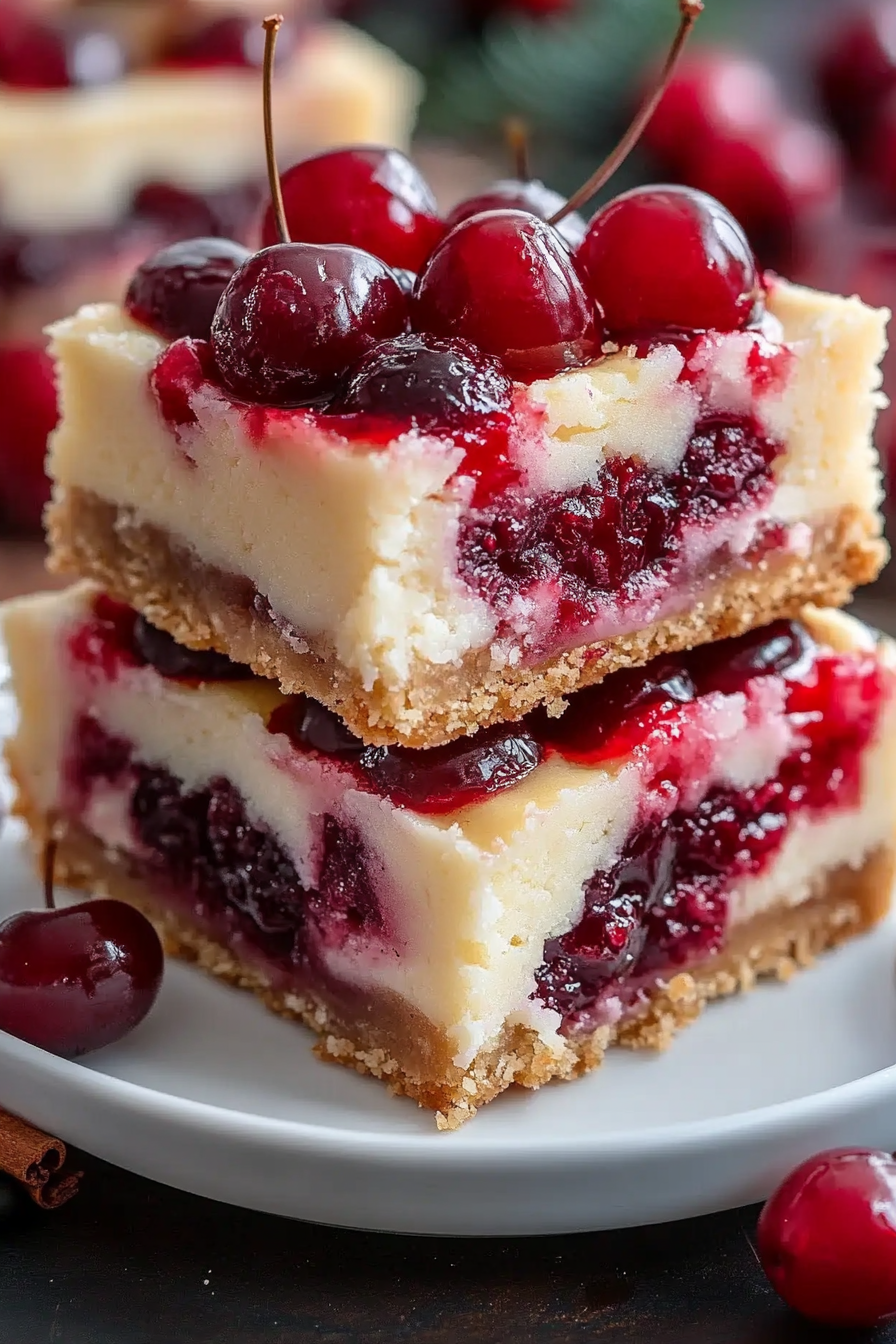
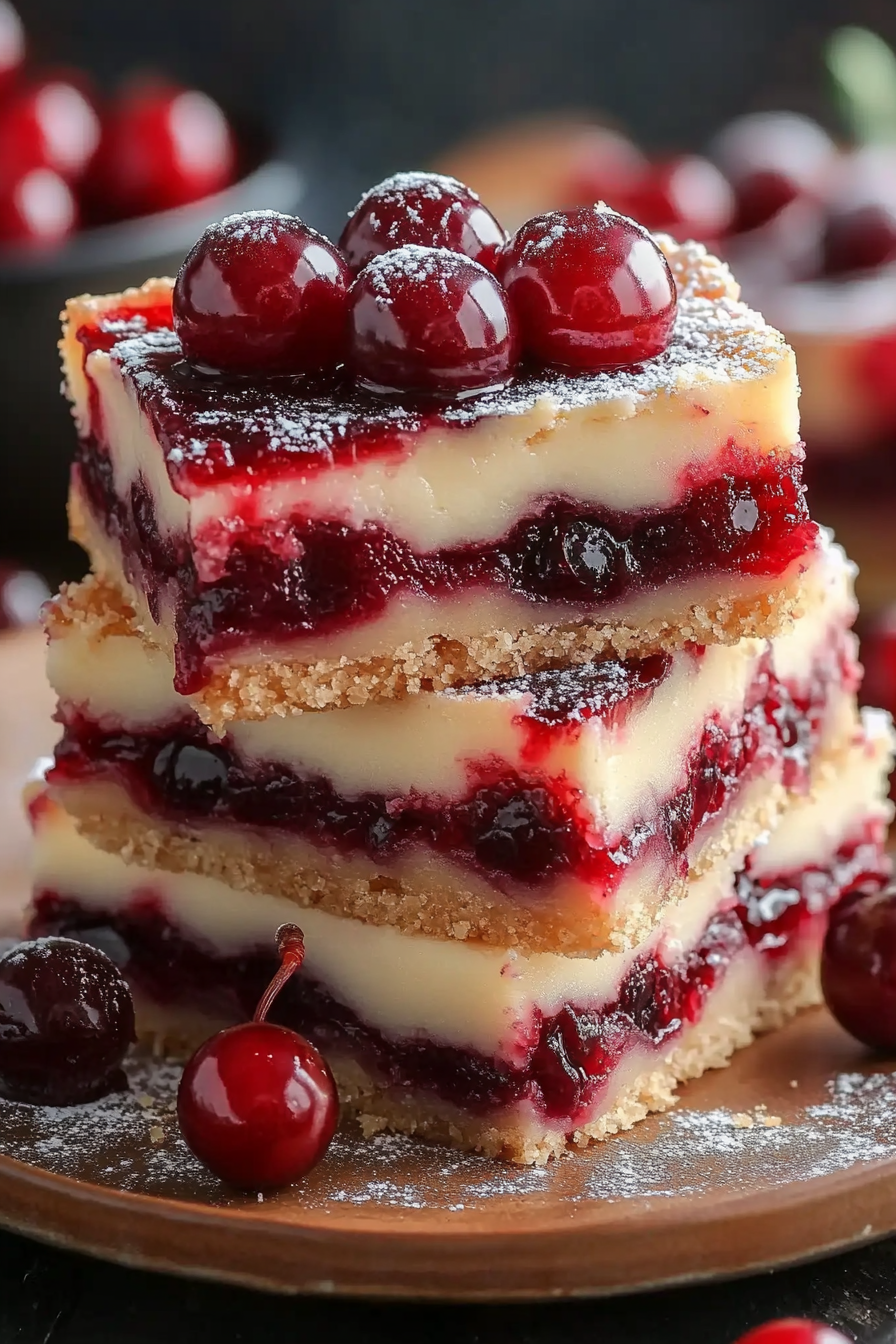
Christmas Cherry Bars Experience the joy of holiday baking with our delightful Christmas Cherry Bars. Made with a rich, buttery base and topped with a sweet and tangy cherry filling, these bars are perfect for festive gatherings. Easy to prepare and irresistibly delicious!
Growing up, the scent of cherry and sugar wafting through the house meant only one thing—Christmas was near! My grandmother’s recipe for Christmas Cherry Bars was a family treasure, carefully handwritten in her well-worn recipe book. Every December, we’d gather in her kitchen, a tangle of aprons and flour dust, to bake these festive treats. The first bite was always a mix of nostalgia and holiday cheer, a reminder of how traditions can sweeten our lives. Now, as I share this cherished recipe, I hope it brings as much joy to your holiday celebrations as it has to mine.
Why You’ll Love This Christmas Cherry Bars
Our Christmas Cherry Bars stand out as a festive favorite, thanks to their unique blend of flavors and textures that perfectly capture the spirit of the holiday season. Here’s why you’ll want to add this recipe to your holiday baking list:
- Ease of Preparation: Even the busiest holiday baker will appreciate how simple these bars are to make, requiring only basic kitchen tools and ingredients.
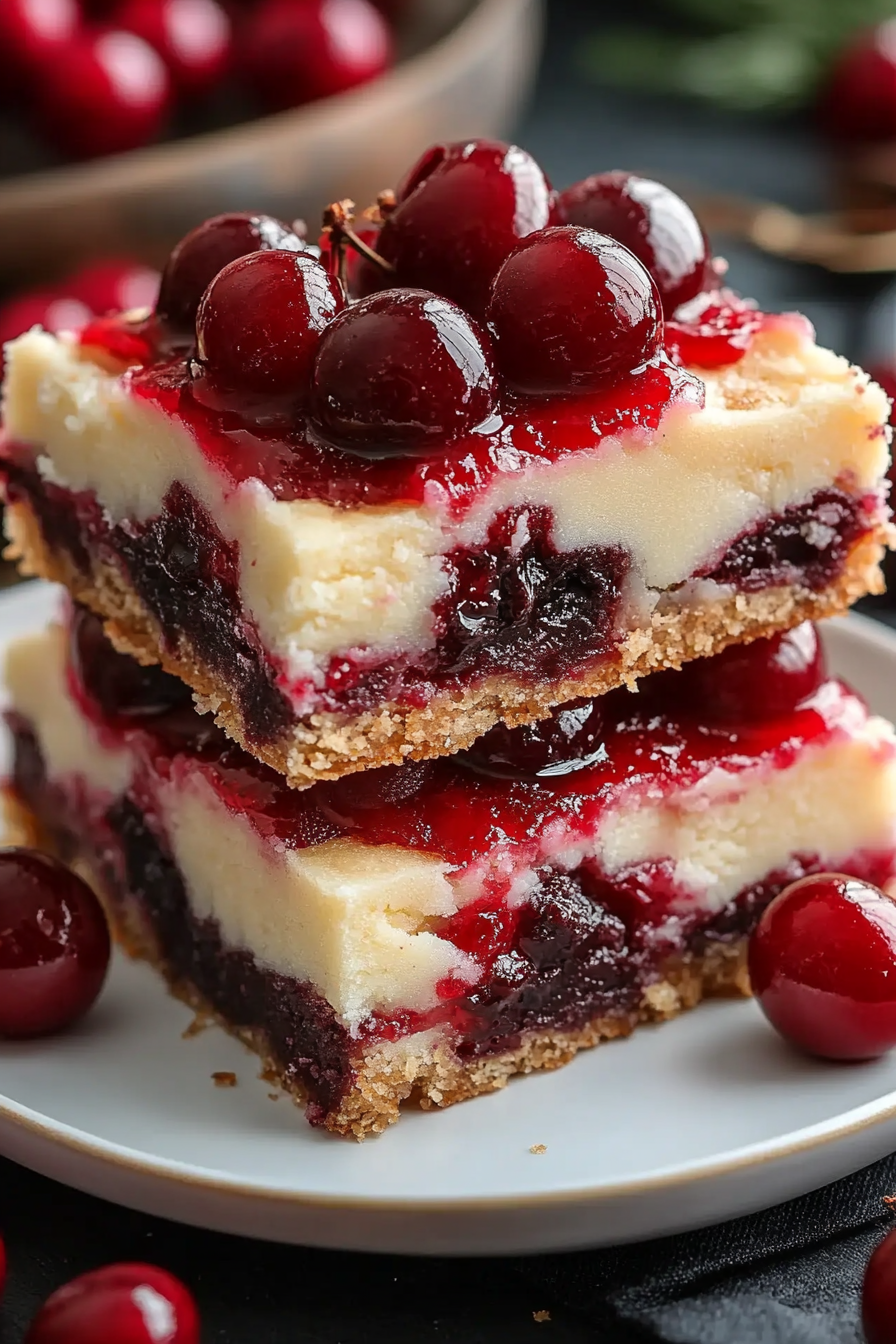
- Perfectly Balanced Flavors: The combination of a buttery crust with the sweet and tangy cherry pie filling offers a delightful contrast that appeals to all ages.
- Visually Appealing: These bars make a stunning visual addition to any holiday table or cookie tray with their vibrant red cherry topping peeking through the golden crust.
- Versatility: Ideal for holiday parties, family gatherings, or as a special treat for Santa, their appeal is universal, making them a versatile choice for any festive occasion.
Ingredients Notes:
To ensure your Christmas Cherry Bars are as scrumptious as possible, let’s talk about some key ingredient insights:
- Butter: Using softened butter is crucial for a creamy, easy-to-spread batter that forms the perfect base for your bars.
- Sugar: Regular granulated sugar sweetens the batter, complementing the tartness of the cherry pie filling.
- Eggs: They add moisture and help bind the batter, giving it the right density to support the luscious cherry topping.
- Vanilla Extract: A teaspoon of vanilla extract enhances the complex flavors of the bars, adding a warm, aromatic depth.
- All-Purpose Flour: It’s the foundation of the bars, providing the necessary structure to hold the rich filling.
- Cherry Pie Filling: Opt for a high-quality brand to ensure the filling is packed with fruit and vibrant in both color and taste.
How To Make Christmas Cherry Bars ?
Let’s break down the making of Christmas Cherry Bars into manageable steps to guarantee your baking success:
- Preheating and Pan Preparation: Start by preheating your oven to ensure it reaches the right temperature for baking. Greasing your pan prevents sticking and helps in easy removal of the bars once baked.
- Preparing the Batter: Creaming butter and sugar until fluffy is key; it incorporates air into the batter, making it light. Adding eggs one at a time ensures each is thoroughly mixed into the batter, maintaining its smooth consistency.
- Combining the Dry Ingredients: Mixing flour and salt separately before adding to the wet ingredients prevents clumping and ensures even distribution throughout the batter.
- Assembling the Layers: Carefully spreading the batter and then the cherry filling in layers ensures that every bite has a harmonious blend of textures and flavors. Dropping small clumps of batter on top adds a lovely touch of rustic texture.
- Baking: Baking until golden brown ensures a delightful crunch to the top layer, while a clean toothpick indicates the bars are cooked through but still moist inside.
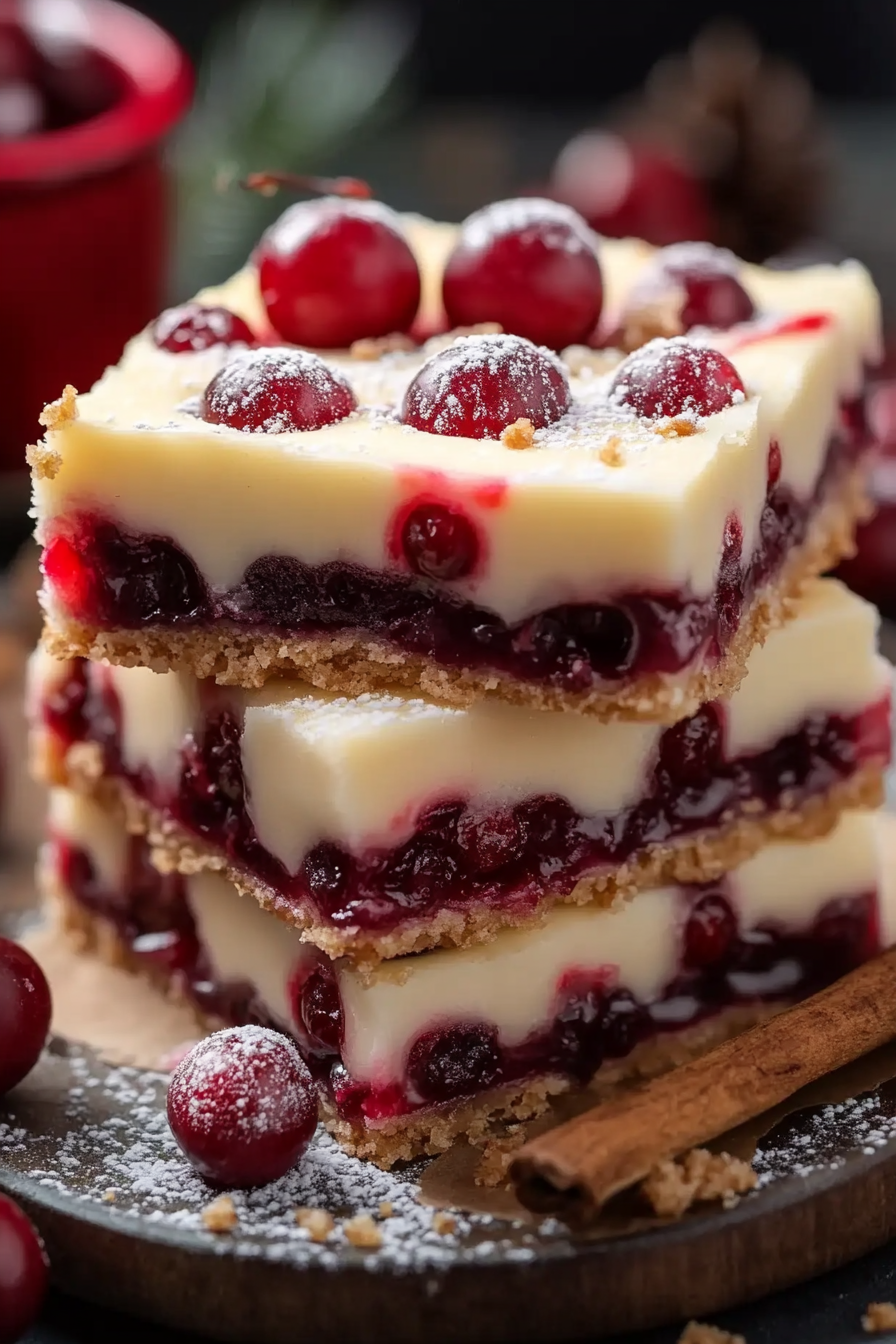
- Cooling and Glazing: Allowing the bars to cool completely is crucial for them to set properly, making cutting easier. Adding a glaze enhances both flavor and appearance.
Storage Options
These delightful Christmas Cherry Bars can be stored in an airtight container at room temperature for up to three days, making them a great make-ahead option for holiday festivities. If you need to keep them longer, they freeze well for up to a month; just wrap them tightly and thaw at room temperature before serving.
Variations and Substitutions
To personalize your Christmas Cherry Bars or adapt them to different tastes and dietary needs, consider these variations and substitutions:
- Gluten-Free Flour: Swap in your favorite gluten-free flour blend to make these bars accessible to those with gluten sensitivities.
- Different Fruit Fillings: While cherry is traditional, feel free to experiment with other pie fillings such as blueberry or apple for a twist on the classic.
- Nut Additions: Mix chopped pecans or walnuts into the batter for added texture and a nutty flavor that complements the cherry.
- Citrus Zest: Add a teaspoon of lemon or orange zest to the batter for a fresh, citrusy note that enhances the overall flavor of the bars.
These suggestions not only ensure that the Christmas Cherry Bars can be enjoyed by everyone, regardless of their dietary preferences or restrictions, but also invite creativity into your holiday baking.
Christmas Cherry Bars
Ingredients
- Butter Softened: One cup of unsalted butter, at room temperature, to form the rich base of the dessert.
- Granulated Sugar: Two cups to impart sweetness and assist in achieving a tender texture.
- Eggs: Four large eggs to incorporate richness and structure to the batter.
- Vanilla Extract: One teaspoon to enhance the overall flavor profile with a warm, aromatic essence.
- All-Purpose Flour: Three cups serving as the primary structural component of the bars.
- Salt: One teaspoon to moderate the sweetness and augment the flavors.
- Cherry Pie Filling: One 21-ounce can to provide the sweet and tangy fruit topping characteristic of these festive bars.
Instructions
- Oven Preparation: Commence by preheating the oven to 350°F (175°C). Simultaneously, lightly grease a 13×9 inch baking pan to prevent sticking.
- Batter Formation: In a sizeable mixing bowl, cream the softened butter and sugar together until the mixture is light and fluffy. This will introduce air into the batter, promoting a lighter texture. Integrate the eggs one at a time, ensuring each is fully incorporated before adding the next, then stir in the vanilla extract.
- Dry Ingredients Mixture: In a separate bowl, sift together the all-purpose flour and salt. Gradually incorporate these dry ingredients into the creamed mixture, mixing until the batter is homogeneous and smooth.
- Layer Assembly: Deposit three cups of the batter into the prepared baking pan, spreading evenly. Overlay this base with the cherry pie filling, distributing it gently to maintain distinct layers. Spoon small dollops of the remaining batter over the cherry layer in a scattered fashion.
- Baking Process: Place the pan in the preheated oven and bake for 35-40 minutes, or until the surface turns golden brown and a toothpick inserted into the center comes out clean, indicating that the bars are adequately baked.
- Cooling and Finishing: Allow the bars to cool completely in the pan set on a wire rack. This step is crucial for the bars to set properly and ease the cutting process. Optionally, one may whisk together powdered sugar, milk, and vanilla extract to create a glaze, which can be drizzled over the cooled bars for additional sweetness and visual appeal.
- Serving: Once the glaze has set, cut the dessert into bars. These are now ready to be served and enjoyed.